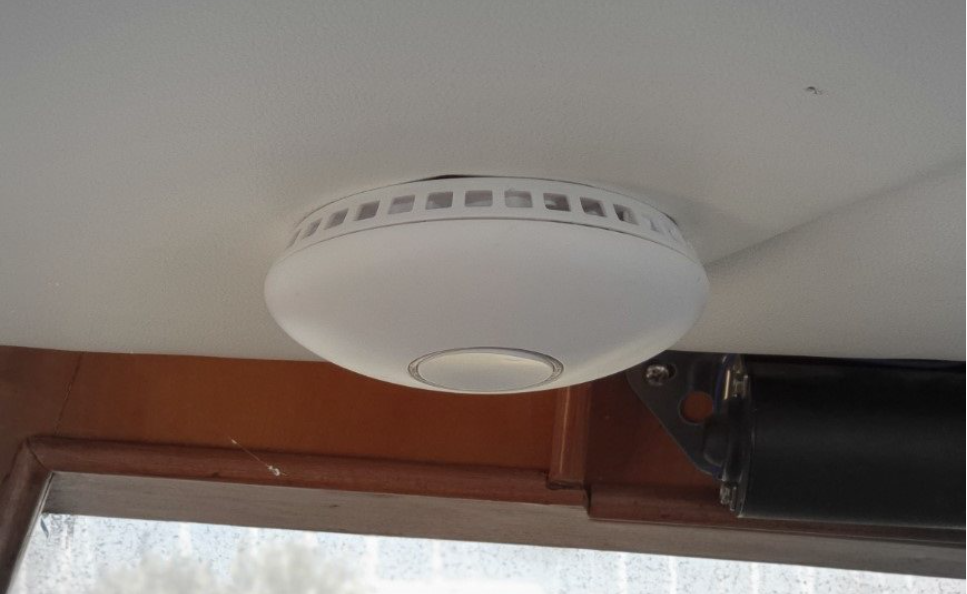
Before installing the Smart Smoke Sensor determine a suitable place to position it. Place the sensor at the highest point of the saloon’s ceiling. It is not recommended to install the sensor in the engine area, bathroom, above the kitchen or in a smoking area as it can lead to frequent false alerts. Exposure to strong chemicals (especially ammonia) and tiny flying insects that fly into the sensor's optical chamber can also cause false alerts.
Attach the sensor bracket using screws or double-sided adhesive tape. Once the sensor bracket is in place, insert the batteries at the back of the sensor and attach the sensor to the bracket.
Adding the sensor to the mobile application
Once the sensor is physically installed in your boat, you can add it to the SENSE4BOAT mobile application.
If you need help to download the SENSE4BOAT application, sign up and log into the application, please tap here.
If you need help adding the sensor in the application, please tap here.
Activation and testing
Once the sensor has been activated, you will receive an e-mail message and a notification via the SENSE4BOAT mobile application. For the first 24 hours after its activation, the sensor will be in test mode, and the alert will be sent only to you. If you have connected your marina to the SENSE4BOAT, it will not receive any alerts for these first 24 hours.
Test the sensor by pressing the test button in the middle of the lower end of the sensor. You will hear the sound signal indicating the readiness of the sensor. Within 30 seconds, you should receive an e-mail notifying you of a successful test.
The LED diode in the sensor casing should blink every few minutes indicating the sensor is working normally.
JavaScript errors detected
Please note, these errors can depend on your browser setup.
If this problem persists, please contact our support.